Designing your own sewing patterns offers a thrilling opportunity to unleash your creativity and guarantee a perfect fit for your clothes. Whether you’re just starting out or have years of experience, this all-encompassing guide will lead you step-by-step through the journey of crafting your own patterns, from the first idea to the final masterpiece. Armed with the proper tools and techniques, you’ll feel empowered to craft unique patterns that reflect your personal style and fit your body flawlessly!
Understanding the Basics of Sewing Patterns
Sewing patterns are templates used to cut fabric into specific shapes for garment construction. Understanding the different types of patterns—commercial patterns, digital patterns, and self-drafted patterns—can help you choose the right approach for your projects.
Types of Sewing Patterns
- Commercial Patterns: Available in stores or online, these patterns are designed by professional pattern makers and come with detailed instructions. They are typically categorized by size and style, making it easy for beginners to select the right one.
- Digital Patterns: Downloadable patterns that can be printed at home, often sold through websites. These can be more affordable than commercial patterns and often come with the advantage of being reusable.
- Self-Drafted Patterns: Patterns created from scratch based on your measurements and design preferences. This method allows for complete customization and ensures a unique fit.
Why Create Your Own Patterns?
Creating your own patterns allows for customization and ensures a perfect fit. It also opens up endless possibilities for unique designs that reflect your personal style. Additionally, self-drafted patterns can save you money in the long run, as you won’t need to buy multiple commercial patterns.
Essential Tools and Materials
Before diving into pattern creation, gather the necessary tools and materials to make the process smoother:
Tools
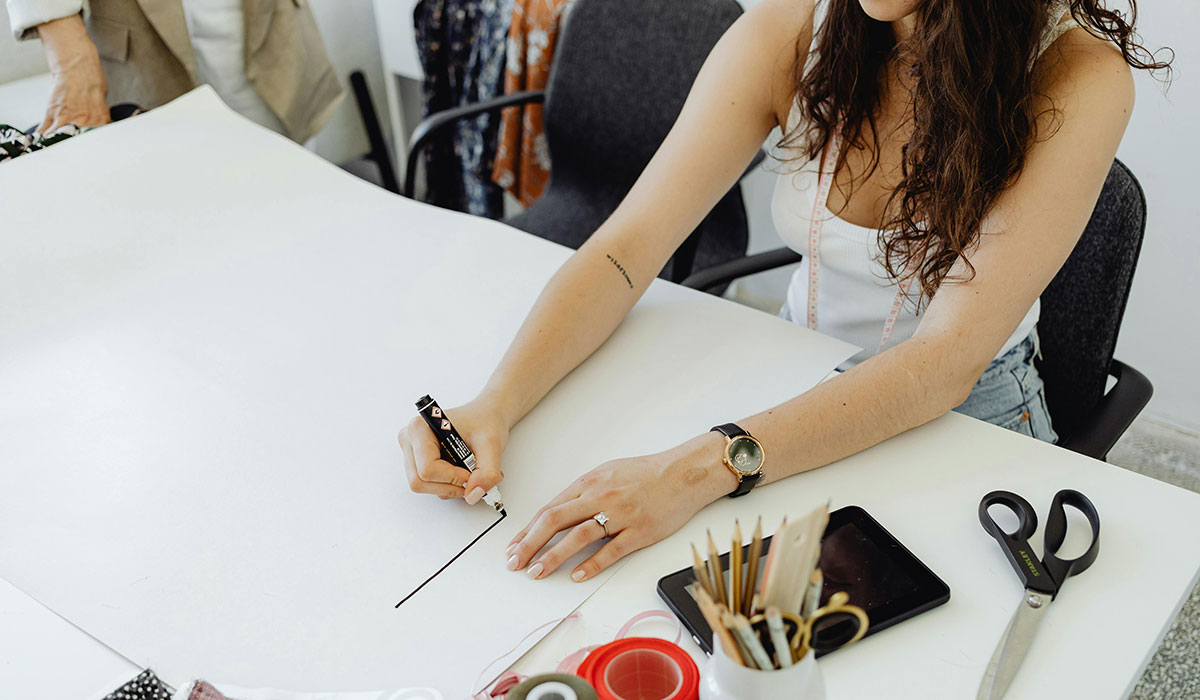
- Pattern Paper: Use large sheets of pattern paper, muslin, or any sturdy paper that can withstand multiple adjustments. Specialized pattern paper often has grid lines, making it easier to draw straight lines and maintain accuracy.
- Ruler and Measuring Tape: Essential for taking measurements and drawing straight lines. A clear ruler can also help with creating seam allowances.
- Pencil and Eraser: For marking and adjusting your patterns. Mechanical pencils are often preferred as they provide fine lines that are easy to erase.
- French Curve: Ideal for creating smooth curves, especially for armholes and necklines. This tool is invaluable for achieving professional-looking patterns.
- Scissors: Sharp scissors specifically for fabric and paper. Consider using fabric scissors for cutting fabric and paper scissors for pattern paper to maintain their sharpness.
- Weights or Pins: To hold your pattern pieces in place while cutting. Fabric weights can prevent the fabric from shifting, while pins help secure patterns to the fabric.
- Sewing Machine: For testing your patterns. A reliable sewing machine is crucial for accurately assembling your garments.
Materials
- Muslin Fabric: A low-cost fabric used for making mock-ups to test your patterns. Muslin is lightweight and easy to work with, making it an ideal choice for fitting.
- Fusible Interfacing: For reinforcing certain areas of your patterns, if needed. Interfacing can add structure to collars, cuffs, and waistbands.
Taking Accurate Measurements
Accurate measurements are crucial for creating patterns that fit well. Here’s how to take your measurements effectively:
Key Measurements
- Bust: Measure around the fullest part of your bust. Make sure the measuring tape is straight and level.
- Waist: Measure around your natural waistline, usually the narrowest part of your torso. It’s helpful to bend slightly to the side to find this point.
- Hips: Measure around the fullest part of your hips, typically 8 inches below your waist.
- Back Length: Measure from the nape of your neck down to your waist. This measurement is essential for fitted garments.
- Front Length: Measure from the shoulder seam down to your waist. This measurement will help in creating a balanced front piece.
- Inseam: Measure from your crotch down to your ankle for pants. This measurement is crucial for achieving the right length.
Tips for Accurate Measurements
- Use a flexible measuring tape and ensure it is straight and not twisted.
- Have someone assist you for more accurate readings, especially for the back measurements.
- Write down your measurements immediately for future reference. Keeping a dedicated sewing notebook can be helpful.
Creating Your Basic Block
A basic block is a template that serves as the foundation for all other patterns. It includes the essential shapes needed to create a fitted garment.
Drafting the Basic Block
- Choose Your Style: Decide whether you want to create a top, dress, or bottom. This decision will influence how you draft your basic block.
- Use Your Measurements: Using the measurements you took, draw a rectangle on your pattern paper. The width should be half your bust measurement plus ease, and the height should be your back length.
- Draw the Neckline: Create a curve for the neckline. A basic scoop or straight neckline works well for beginners. You can adjust this later for more complex designs.
- Shape the Armholes: Use the French curve to draw smooth armholes based on your bust and back measurements. Make sure to consider the desired style of the sleeves.
- Mark the Waist and Hips: Divide the total length into sections for the waist and hips, adjusting for ease. It’s important to ensure the balance between the top and bottom pieces.
Modifying the Basic Block for Different Styles
Once your basic block is complete, you can modify it to create different styles.
Adding Style Lines
- Darts: Add darts for shaping the bust and waist. Mark the dart placement and draw dart lines to the bust point. Darts are crucial for fitting garments snugly against the body.
- Pleats and Gathers: Create pleats by marking equal sections of fabric at the waist or neckline, allowing for fullness. Gathers can add a feminine touch to blouses and skirts.
- A-line or Fitted Silhouettes: Adjust the side seams to create an A-line shape or take in the sides for a fitted look. Each adjustment should enhance the overall silhouette.
Experimenting with Design Elements
Feel free to experiment with various necklines, sleeve styles, and lengths to create a unique garment. Sketch your ideas to visualize the final design. Consider using fashion design software or apps for more intricate designs.
Drafting the Pattern
Now that your modifications are complete, it’s time to draft the final pattern.
Step-by-Step Drafting
- Trace the Basic Block: Use a fresh piece of pattern paper to trace your modified basic block. Ensure your lines are clear and smooth.
- Add Style Lines: Incorporate the style lines and adjustments you made earlier. Use a ruler to maintain straight edges.
- Include Notches: Mark notches on the pattern to guide alignment during sewing. Notches help in aligning seams accurately.
Adding Seam Allowances and Notches
Seam allowances are crucial for sewing your pieces together.
Seam Allowance
- Add at least a 1/4 inch to 5/8 inch seam allowance around all edges of your pattern pieces. This allowance is necessary to provide space for sewing and finishing the edges.
- Ensure consistency across all pattern pieces to avoid fitting issues during assembly.
Notches
- Add notches to indicate matching points, such as where seams meet or where zippers will go. This will simplify the sewing process and ensure accuracy.
Cutting Out the Pattern
Once your pattern is finalized, it’s time to cut it out.
Cutting Techniques
- Pin or Weigh Down the Pattern: Secure your pattern to the fabric with weights or pins. This prevents the fabric from shifting while you cut.
- Use Sharp Scissors: Carefully cut along the outer edges, ensuring precision. Take your time to achieve clean lines.
- Label Each Piece: Clearly label each cut piece for easy assembly later. Include markings for the pattern piece name, size, and any other relevant notes.
Making a Muslin Mock-Up
Creating a mock-up is essential for testing fit and design before cutting into your final fabric.
Steps for Making a Mock-Up
- Cut the Mock-Up Pieces: Use muslin to cut out your pattern pieces. This low-cost fabric is ideal for testing fit.
- Sew the Mock-Up Together: Assemble the pieces using a sewing machine, using a long stitch for easy adjustments. A long stitch allows you to rip seams easily if needed.
- Try It On: Test the fit and make any necessary alterations to the pattern based on your observations. Pay attention to areas like the bust, waist, and hips.
Final Adjustments and Finishing Touches
After trying on your mock-up, it’s time to make final adjustments to ensure a perfect fit.
Common Adjustments
- Take In or Let Out Seams: Adjust the side seams as needed for comfort. If the mock-up is too tight, you may need to let it out; if it’s too loose, take it in.
- Shorten or Lengthen Hemlines: Alter the length to suit your style. Consider the intended use of the garment when making this decision.
- Adjust Necklines and Armholes: Fine-tune these areas for better fit and comfort. A well-shaped neckline can make a significant difference in the overall appearance.
Storing and Organizing Your Patterns
Once you’ve created your patterns, keeping them organized is essential for future use.
Tips for Pattern Storage
- Use a File System: Store patterns in labeled folders or binders. Organizing by type (tops, bottoms, dresses) can make finding them easier.
- Keep Digital Copies: Scan or take photos of your patterns to keep a digital backup. Digital copies can be a lifesaver if a physical pattern gets damaged.
- Maintain a Pattern Journal: Track your designs, notes, and any alterations made. This can help you remember what works best for your body type and style.
Common Mistakes to Avoid
While creating your own sewing patterns can be incredibly rewarding, there are common pitfalls that can lead to frustration. Here are some mistakes to avoid:
- Skipping Measurements: Always take accurate measurements before drafting your patterns. Skipping this step can lead to ill-fitting garments.
- Neglecting Ease: Make sure to add ease to your patterns for comfort. Many beginners forget to include this, resulting in tight garments.
- Ignoring Fabric Type: Consider the type of fabric you’ll use when drafting your patterns. Different fabrics have different drapes and may require adjustments.
- Not Testing the Mock-Up: Always make a mock-up to test fit before cutting into your final fabric. This can save you time and material.
- Forgetting Seam Allowances: Ensure you include seam allowances when cutting your fabric. Neglecting this can lead to fitting issues during assembly.
Conclusion
Embarking on the adventure of designing your own sewing patterns is an incredibly fulfilling experience, allowing you to unleash your creativity and create perfectly tailored garments. With this comprehensive guide, you’re equipped with everything you need to dive into the world of pattern-making. Whether crafting for yourself or others, remember that practice leads to perfection. Gather your supplies, take accurate measurements, and begin drafting your unique custom patterns today!
By following these steps, you’ll not only elevate your sewing skills but also relish in the joy of wearing clothes made just for you. Don’t forget to check out Amazon for tools and materials that can assist you on this exciting sewing journey. Happy stitching!


